How To Design A Physical Product
Welcome to this mini tutorial of how to design a physical product from scratch. It’s the first part of the series…
Welcome to this mini tutorial of how to design a physical product from scratch. It’s the first part of the series which solely focuses on the design aspect of the product. In later articles I will go deeper into the manufacturing aspect. I will explain you the steps using my own physical product as an example.
Why create a physical product?
You might think that our world is getting more connected and the demand for physical products is declining. While I don’t have any statistics thats proves this statement wrong, I can tell that physical products will never go away.
People will always buy products that they can use and hold in their hands. With technological improvements and the creation of new industries (for example drones), creators will have more opportunities than ever to come up with new ideas and products. The value of a physical product is also much easier to grasp.
With a digital product, customers will never know what exactly they get until they purchased it. This gives physical products a massive advantage.
Of course there are also downsides. I wrote an article about the up and downs if you want to dive deeper into the topic, in order to make a better decision if you should go down that path (Why Selling Physical Products Is Still A Good Idea In The Digital Era)
It is also worth to mention that in the past, it was extremely difficult for the average Joe to create a physical product.
But now, with 3D printing technology and easy access to manufacturers (-> Alibaba), EVERYONE can create a physical product without breaking their bank accounts. More accessibility, drives innovation forward.
Alright, let’s not beat around the bush any longer and let’s see what awaits you in this chapter.
Content
Let’s explore what you will learn in this article…
Step 1 : Sketch your Idea
This is the most crucial first step of designing any kind of product. Learn why sketching is important, what tools to use and how to learn it.
Step 2 : Explore Materials
Material choices is one of the most important aspects of designing a physical product. I will show you where to find materials and what you need to keep in mind.
Step 3: Create Design Specifications
I will show you how to create detailed design documentations so you can communicate properly with manufacturers later.
The Advantage Of CAD & 3D Modeling
Creating 3D models is not always necessary, but I will show you the advantage of building your models in 3D and how it can help you especially in the early starting phase.
Step 1 – Sketch your idea
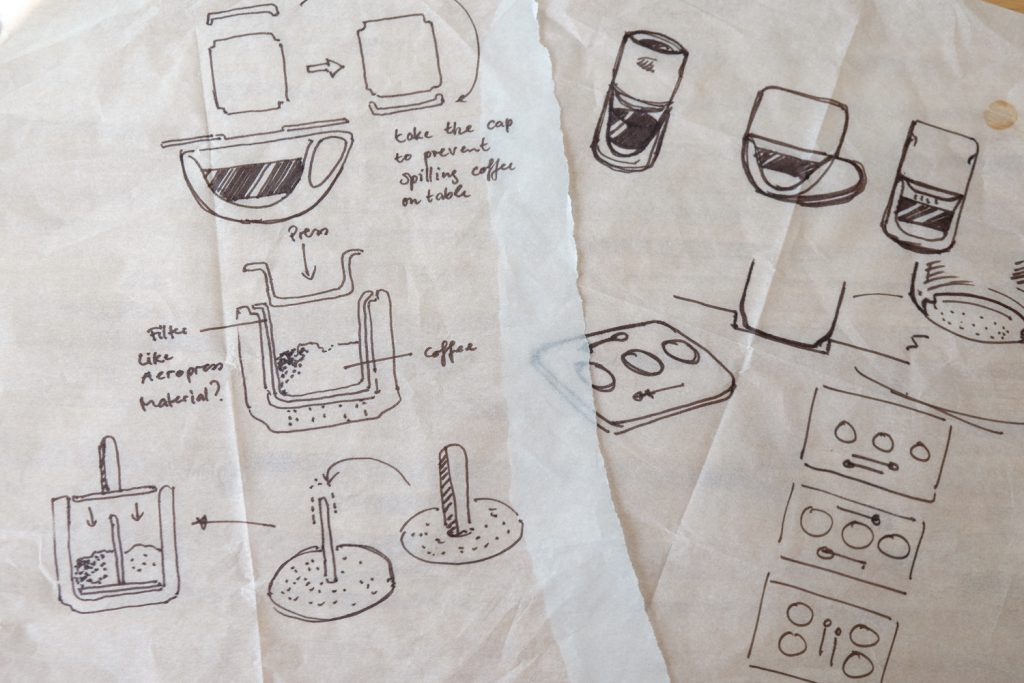
The first step of designing a physical product or any kind of product, is to get a better understanding of how your product is used. Sketching is a very essential part at the beginning of a design process that helps you to think your product through.
So take pen and paper and put your ideas into a tangible form.
Quantity over quality first
The main goal here is to go broad first with exploring multiple design directions and narrow down potential final candidates later.
This is known as the double diamond principle in design. Therefore each design process, no matter what industry, should start with sketching.
Avoid to jump into the computer too quick because:
- hand sketches are way faster
- sketches or bad ideas are easier to trash (it’s harder to delete files on the computer that you spent hours on)
- sketching will let you come up with new ideas during the process whereas working on a computer will waste your time because you get lost in details
It really doesn’t matter how beautiful your sketches are but the goal is rather to think your idea through from different angles.
If you are an absolute beginner, here is a nice tutorial I found to get started on sketching:
I Want to Draw: Simple Exercises for Complete Beginners
What you should focus on:
- sketch out details of your product
- sketch your product from all different angles
- draw every single part of your product if it consists of multiple parts
- think about how these parts could be put together
- consider material choices
- consider how people would use your product
- consider the size of your product
Tools you can use:
Step 2 – Explore suitable materials
Perhaps you already had some ideas about materials in mind when you started.
However, sometimes it is still good to do some more research and maybe you even find a better suited material or shapes you haven’t seen before.
Pinterest is a wonderful resource where you can find almost everything:
For the start, you can have a look at my pinterest boards to get some inspirations but of course you should do some own research for products that are more similar to yours.
When choosing Materials keep the following in mind:
How many parts and materials do you have?
Because this will influence your manufacturing process later. Normally a manufacturer is specialized in one kind of material.
For example: My ceramic manufacturer cannot make the glass. Therefore I need another manufacturer to make the glass for me. This increases logistics handling.
For that reason I recommend to start with a simple and less complex product for the start so that you product is only coming from one source.
Is the material easy to control?
Different materials have different tolerance levels. A tolerance level describes how precise a manufacturer can make your product.
For example: a product made of ceramic is fired in a kiln and will shrink. This shrinking process is hard to predict. Glasses are mouth blown. Because it is a manual process, not each glass will be perfectly the same. Metallic parts are casted. Because the mould is create once and will not change, metallic parts have very little tolerances.
For the start, it’s best to use materials that are easy to control and have little tolerances.
Buy products from competitors
The best thing you can do at the start is to checkout products that are already on the market. This requires some little upfront investment but you will learn a lot.
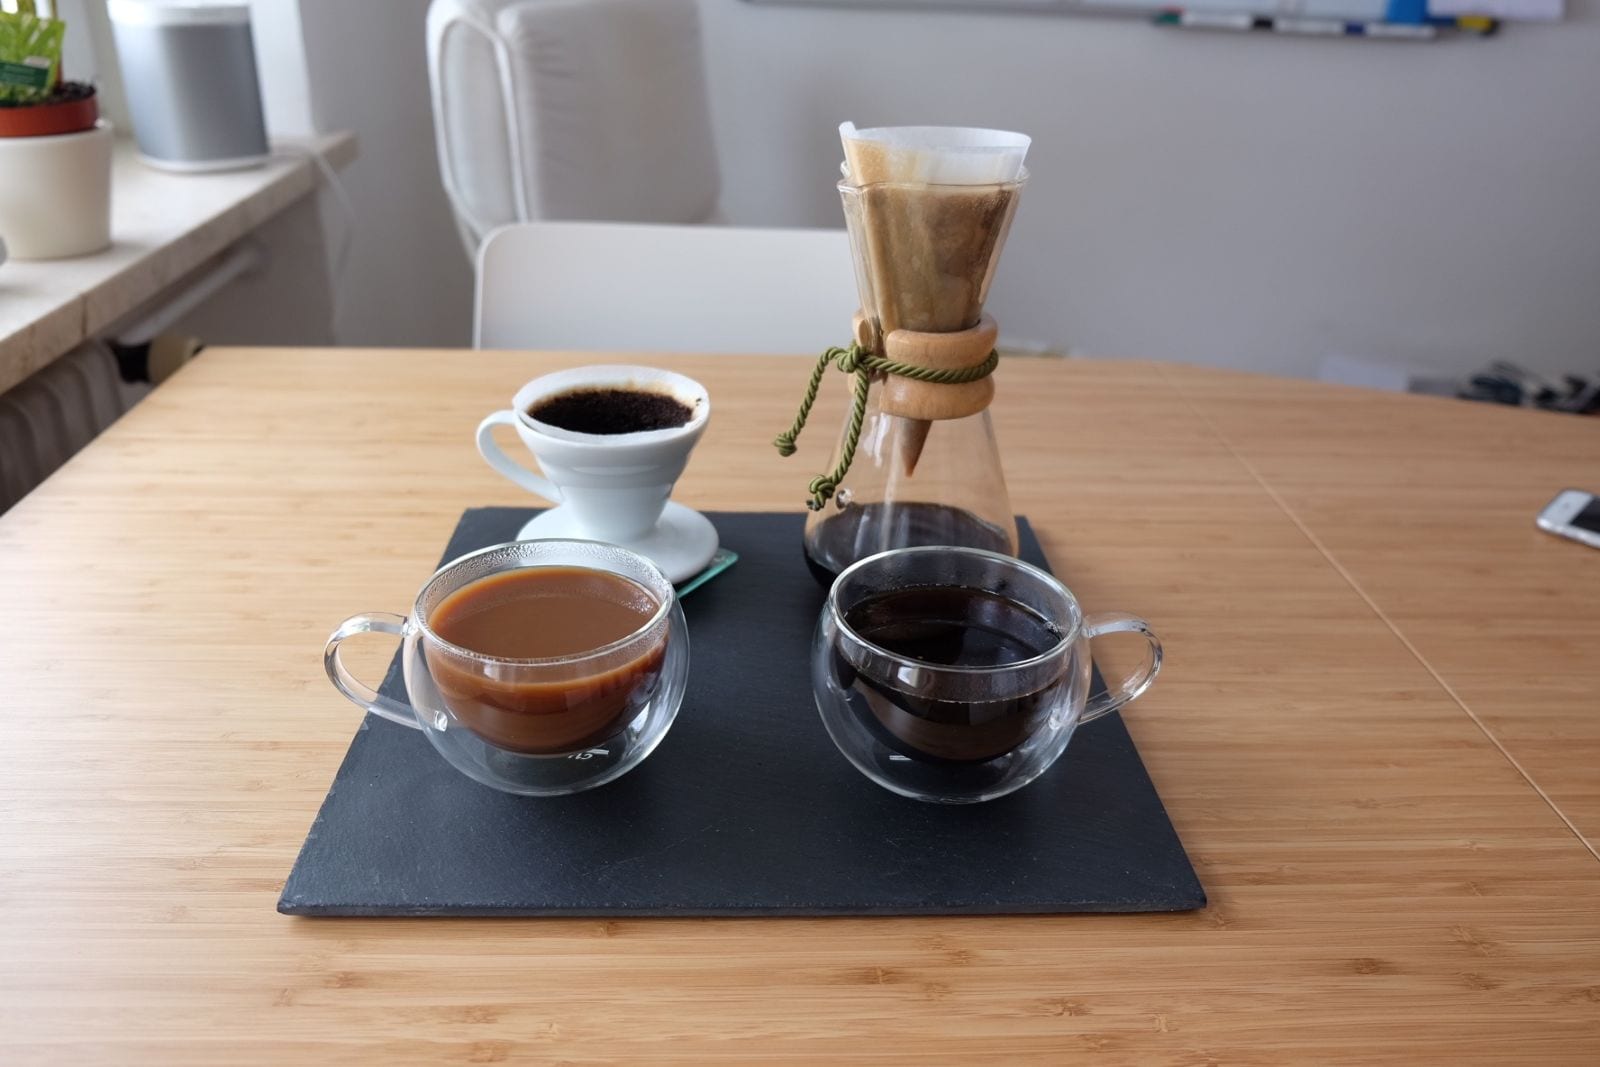
For example: when I first started I bought double wall glasses from different brands. On the pictures they all looked the same. But holding them in my hands, I could see the tiny differences in quality. Some were more thick and heavy, which makes them feel more premium. Others printed their logo on the bottom, which I didn’t know was possible.
Step 3 – Create Design Specifications
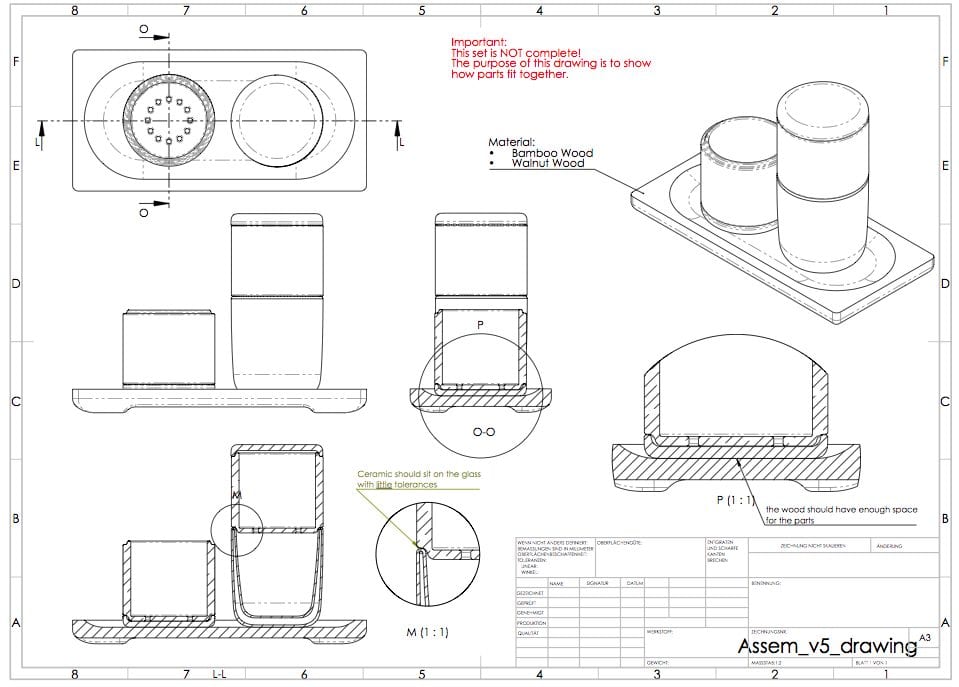
After having a direction you can start to ship the final design with detailed drawings and specifications.
A detailed design specification should entail all informations necessary to build the product:
- measurements (mm)
- materials
- color
- fron view
- side view
- top view
- back view
- bottom view
If possible use CAD software such as Solidworks because it will make your life much easier long term.
Depending on the complexity of your product and your expertise you might need some help in following areas:
- Design
- Engineering
What if you don’t know CAD?
If you don’t know how to use Solidworks or other CAD Software then don’t learn it! You will encounter too much frustration and give up before your product even comes to life.
Instead you could look for industrial design students in your area and ask them for help. Students are great because they only cost a fraction compared to a professional service and they are eager to help because want to gain more experience.
If you cannot find any students, consider following sources to get help:
Next Step: Create Renderings and validate the idea
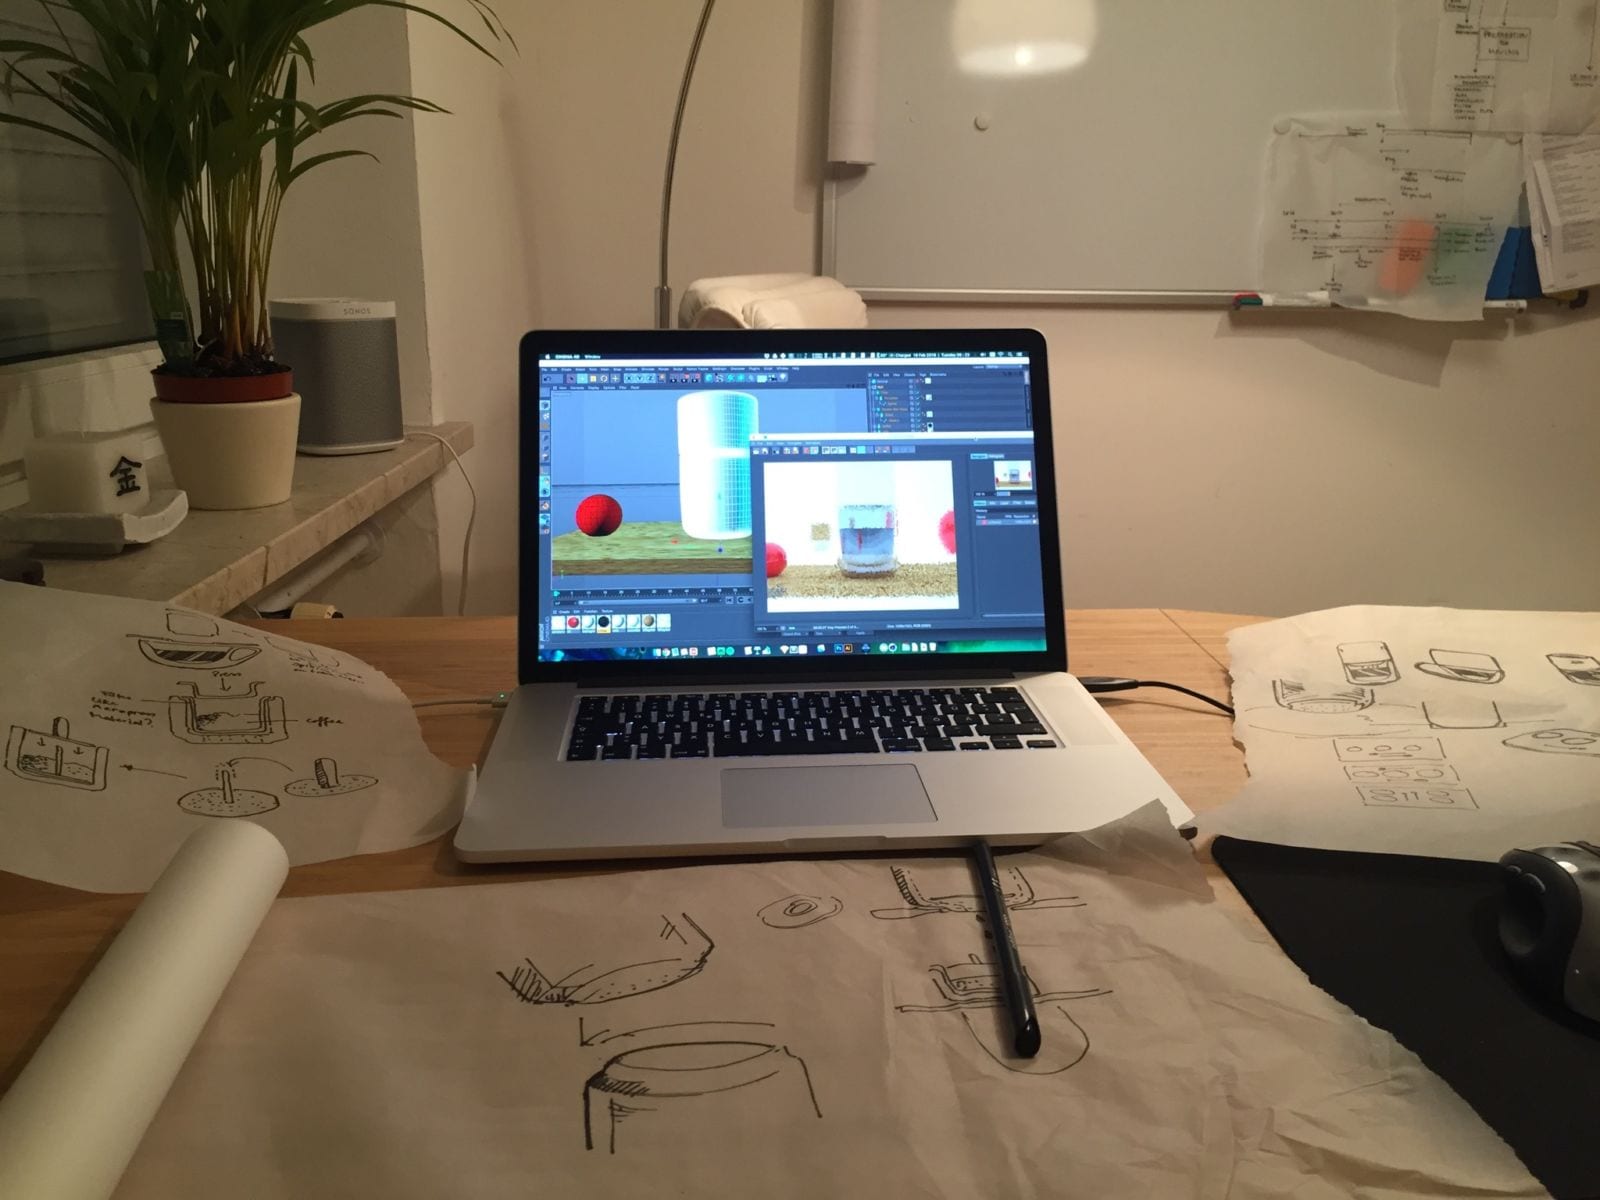
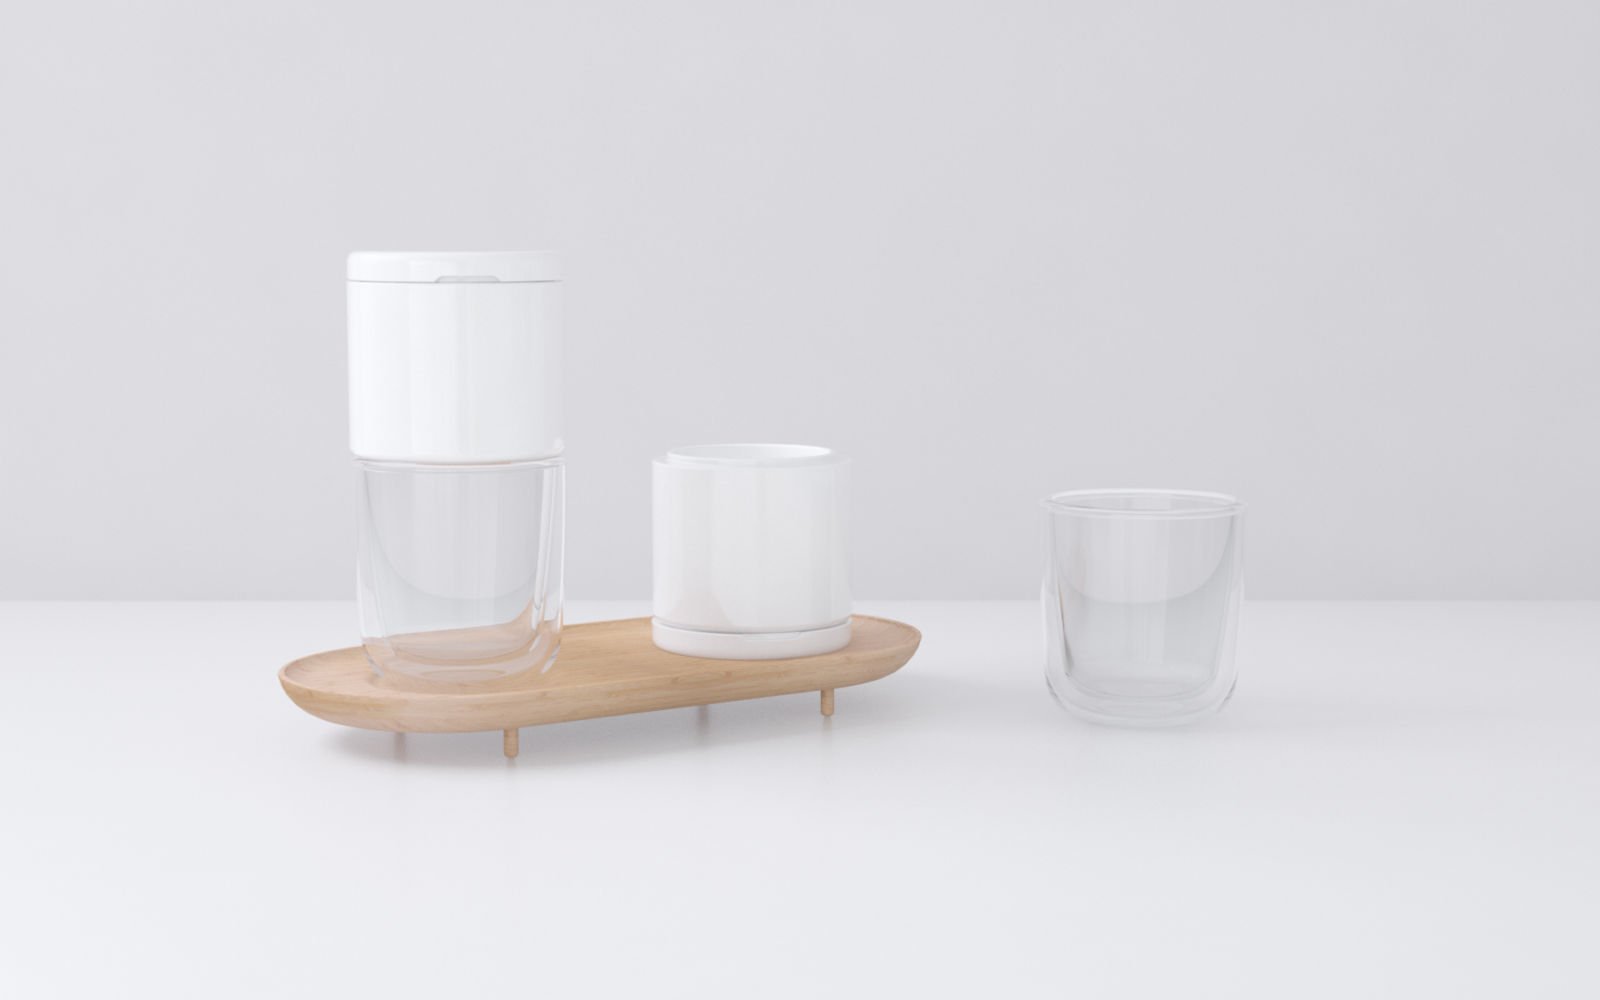
3D models are not only useful for 3D printing but also useful to create renderings: photorealistic product images.
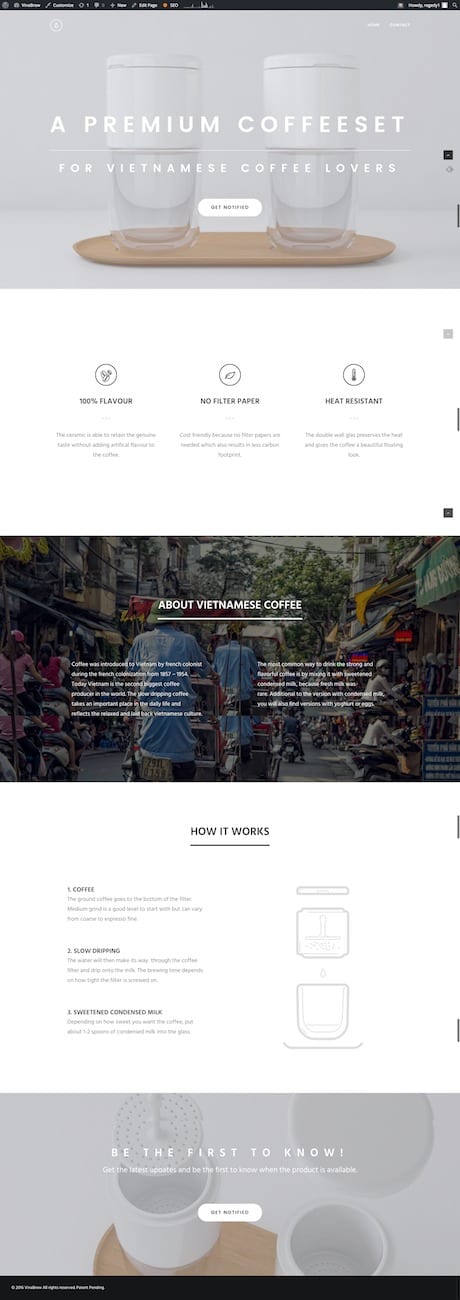
You can use renderings to set up a website and promote your product. I created a quick website with my product renderings and collected feedback from people.
This is a very crucial validation step in order to see how big the interest is before you spent all your money on mass production.
Renderings will also make your life more easy when it comes to communicating with manufacturers .
Furthermore, using CAD programs to build 3D Models let you create technical drawings with measurements more easily that you can send to you manufacturers.
