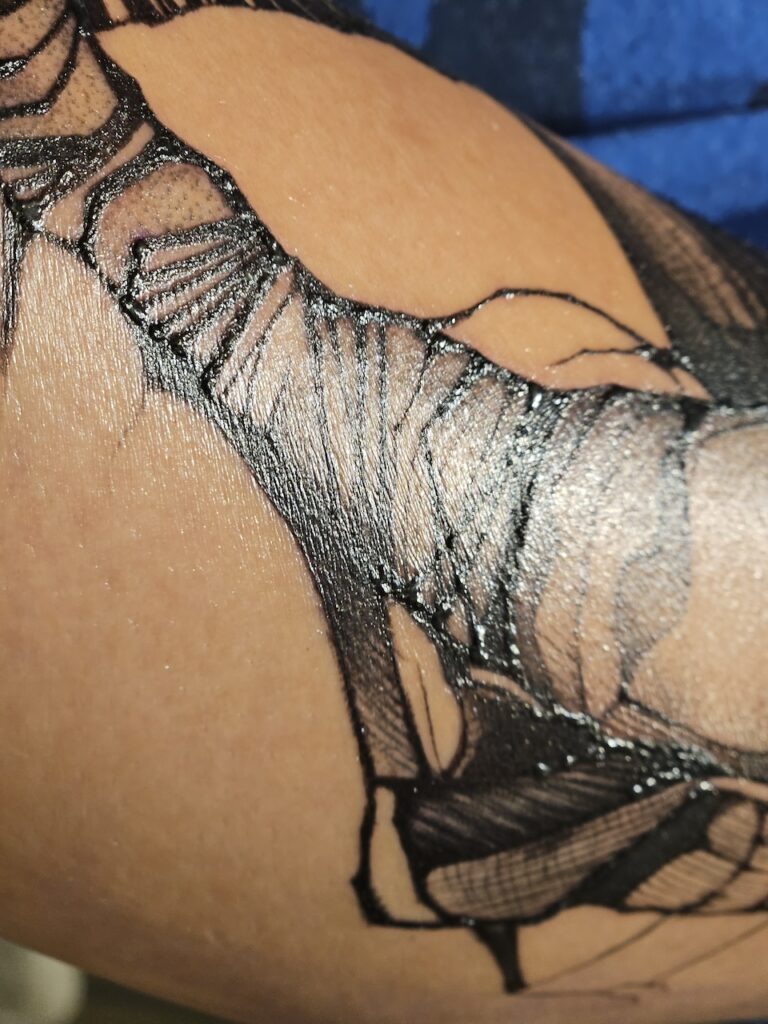
Getting My first Tattoo – Here is my experience
For a few years now, I was toying around with the idea to get my first tattoo. In 2023, I’m finally making it happen. Here is the whole documentation of getting my first tattoo from start to finish.
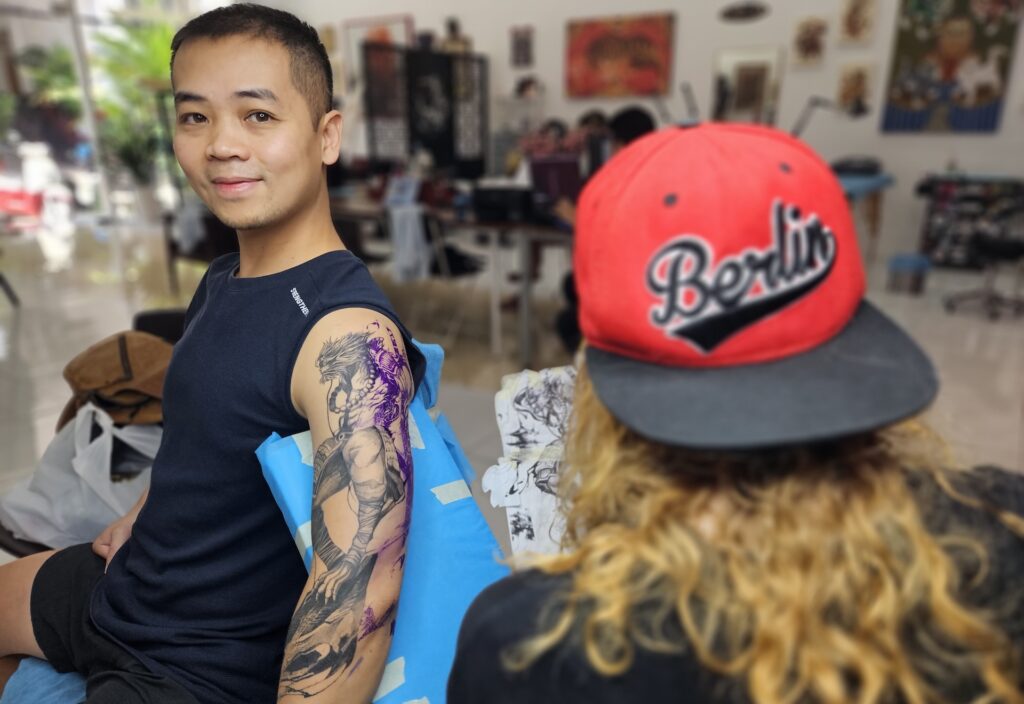
Sparking The Idea To Get My First Tattoo
For a few years now, I’d been thinking about getting my first tattoo. I can’t remember what exactly the trigger was, but since I started traveling 5 years ago, I’ve noticed a personal transformation that not only happened on the inside but also started to happen on the outside.
Traveling around the world and getting exposed to all kind of different people, that I usually wouldn’t have met in my previous life, was probably a great contribution to start the initial thoughts of getting an outside transformation. Also getting inspired by various entrepreneurs that I follow (like Bedros Keuilian) were a great inspiration.
However, I didn’t want a tattoo like everyone else by walking into a studio and selecting something from the “menu”. It needed to be something special that represented my spirit and journey overall and that I can identify myself with.
Deciding On The Artwork For My First Tattoo
After some time of reflection I wanted to get something that has been a big inspiration in my childhood and that still fascinates me to this day: the Monkey King.
The story of the Monkey King is beautiful and has a lot to do with martial arts, personal growth and spiritual evolution. The Monkey King represents strength, a warrior mindset, lots of patience and endurance and most importantly playfulness and not taking life too seriously. If you’re interested in knowing more, here is a nice video that recaps the story perfectly:
Fun fact: Dragon Ball was inspired by the Monkey King, so if you’re familiar with the anime, you can find a lot of similarity between Goku and the Monkey King.
Doing The Research
I think Pinterest is the best place to start researching tattoo art and there is a lot of great stuff there that is just harder to find on google.
First I wanted to get a feeling of what’s actually possible because the whole tattoo thing was a completely new thing to me.
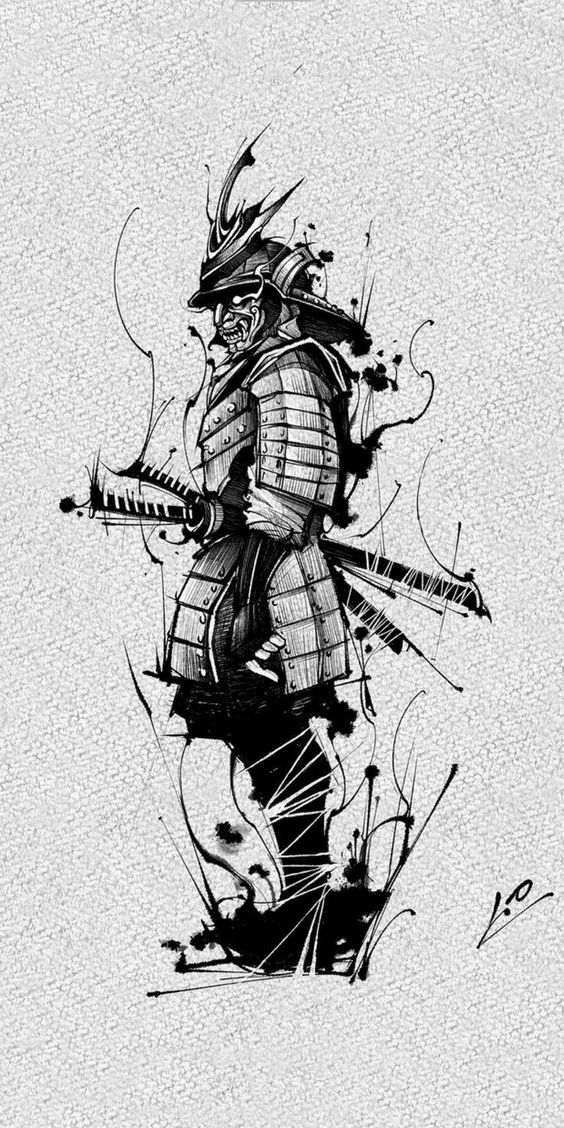
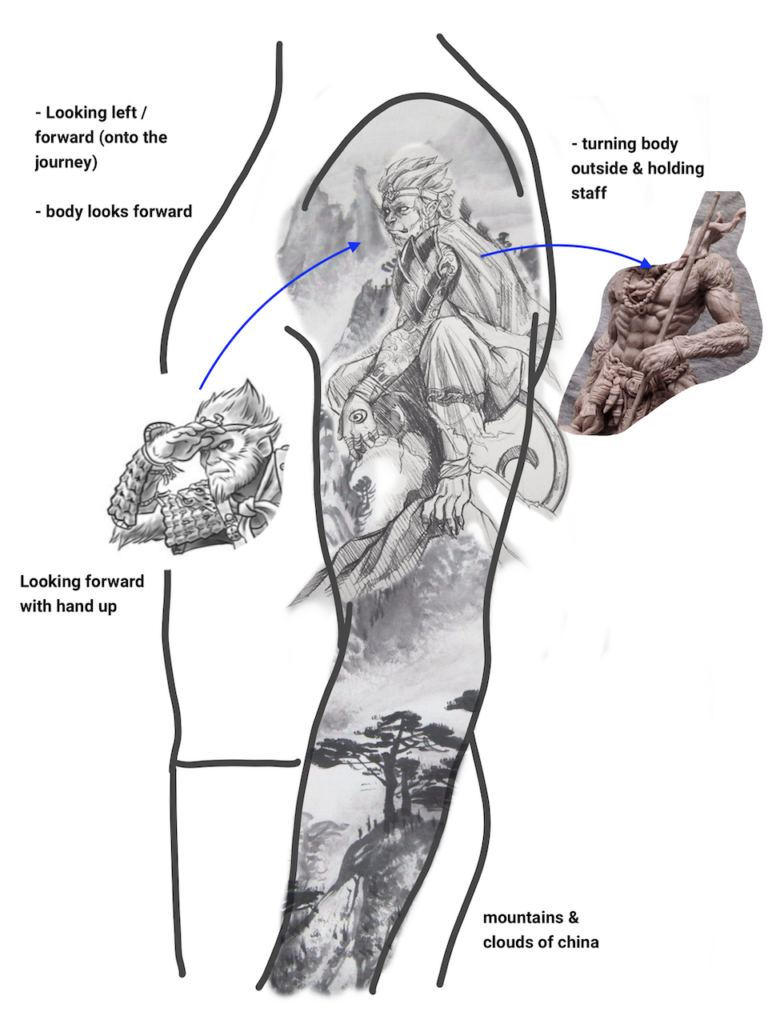
Most of the Monkey King tattoo art was actually a full sleeve size. This didn’t really scare me off and I actually really liked how it looked.
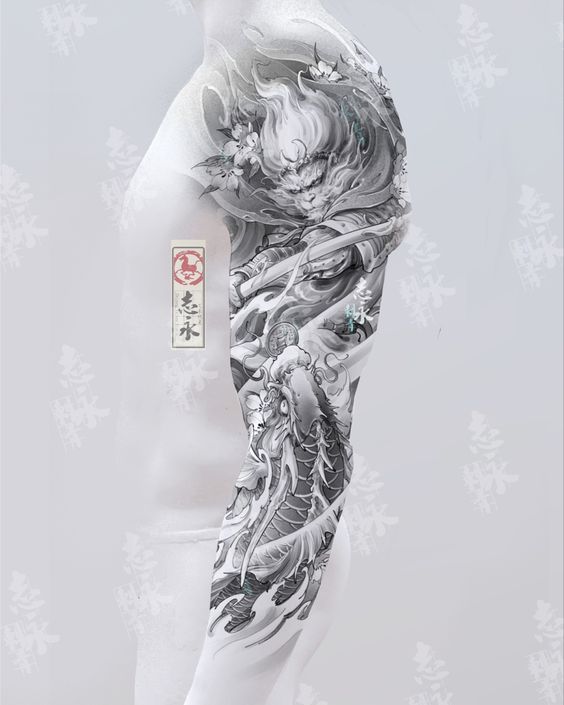
Because I wanted something that is long lasting, I decided to go for a black and white style as I found out that colored tattoos fade more quickly.
I also looked up various techniques for black and white tattoos and in the end decided to go for a fine line art, flat, ink style tattoo style.
While smaller details will fade over time, I believe this one will last quite a long time and look amazing even decades down the road. time will tell.
Finding The Right Artist
As I’m currently based in Da Nang, Vietnam, I wanted to find a studio that has a great reputation and also artists who could turn my idea into something really amazing.
DragonCity Ink was one that I went with and they had various artist with different styles. The owners were super nice and selected the perfect artist that matched with the style I wanted to achieve.
Creating The Concept
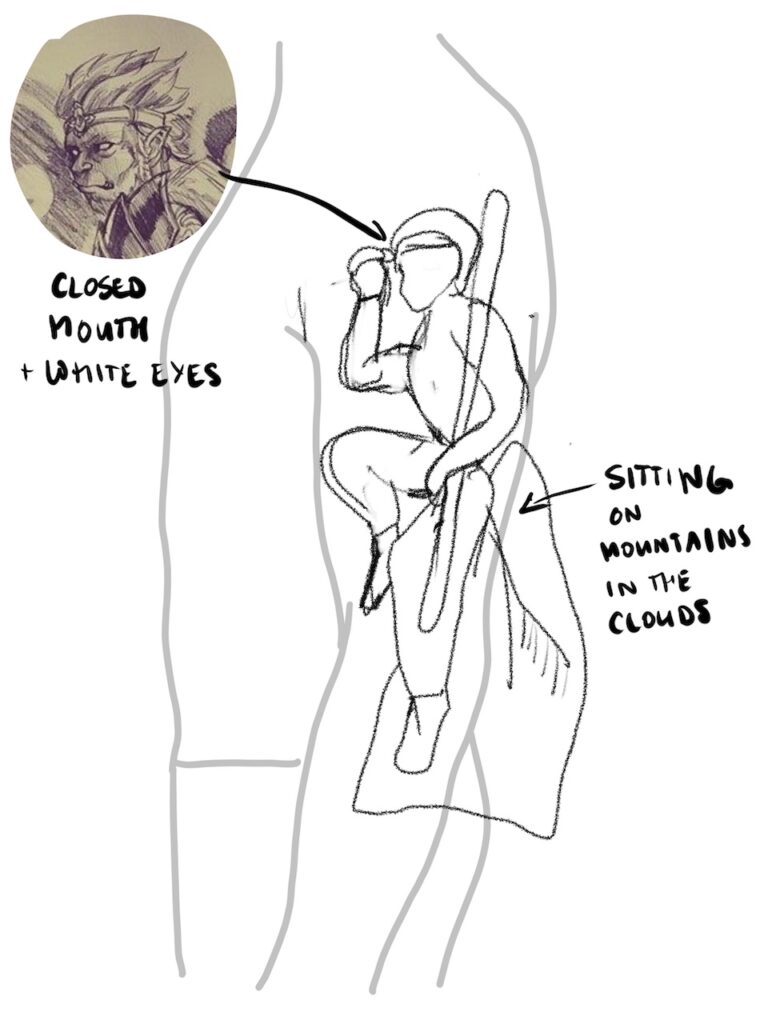
Being a designer myself, I was quite particular how I wanted my tattoo to look. But I also knew that as a designer, I could become a pain in the ass for the artist. That is why I tried to find a balance between giving guidance and giving enough room for the artist to create something I couldn’t possibly have thought about.
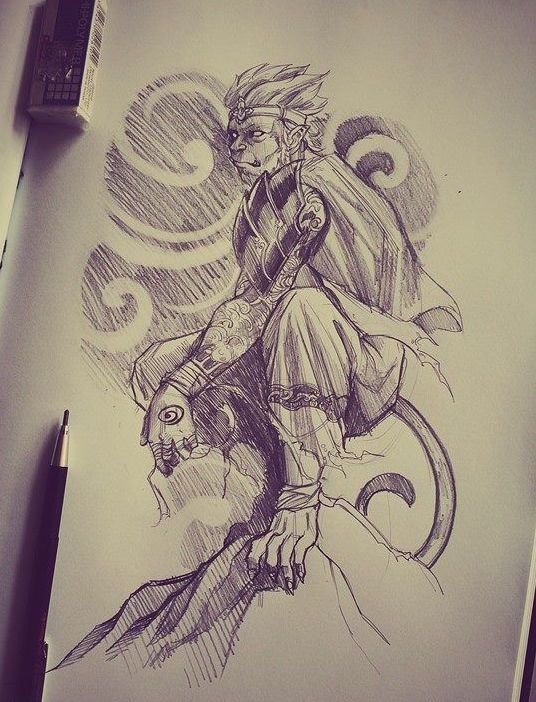
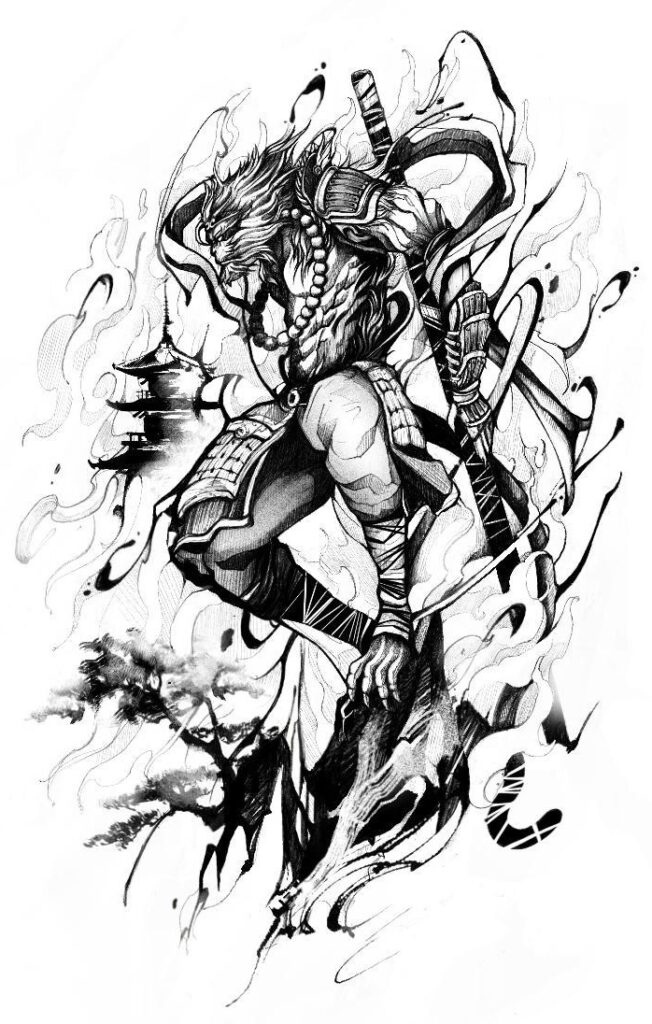
The first image shows the first rough sketch that I sent the studio along with the references from above. After the initial conversation, I refined the draft with a super quick photoshop mockup just to give the artist a better glimpse of my expectations.
The First Draft
After this, I left it up to the artist to create the first draft based on the mockups I’ve sent. When she sent me the first initial draft, I didn’t expect such a detailed first version already, but I was happy because it went into the right direction. I immediately knew she was a great fit for the tattoo because it didn’t require much explanation from my side. This is a sign of an experience artist.
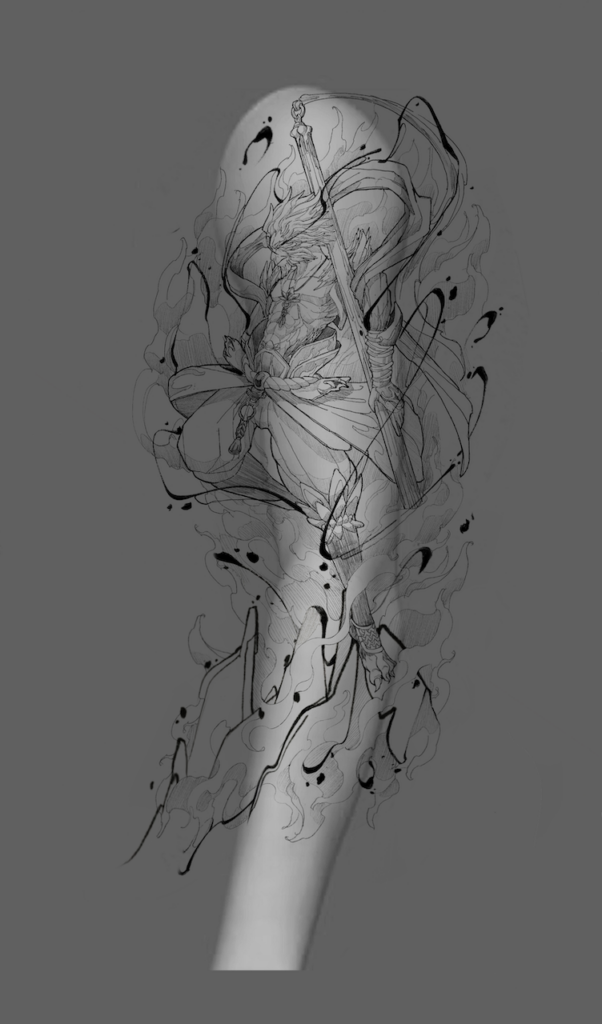
It didn’t take many iterations to get to the final version. We tweaked some details for the clothing to make it look more like a monk warrior rather than a japanese anime figure and added some details here and there.
Here is the final version and I think it looks pretty dope:
Day 1 – Getting Started
I was super excited on the first day.
Who wouldn’t be?
Normally, I’m a person who does a lot of research upfront before diving into new things.
In this case, however, I went in with an open mind without prior deep dive.
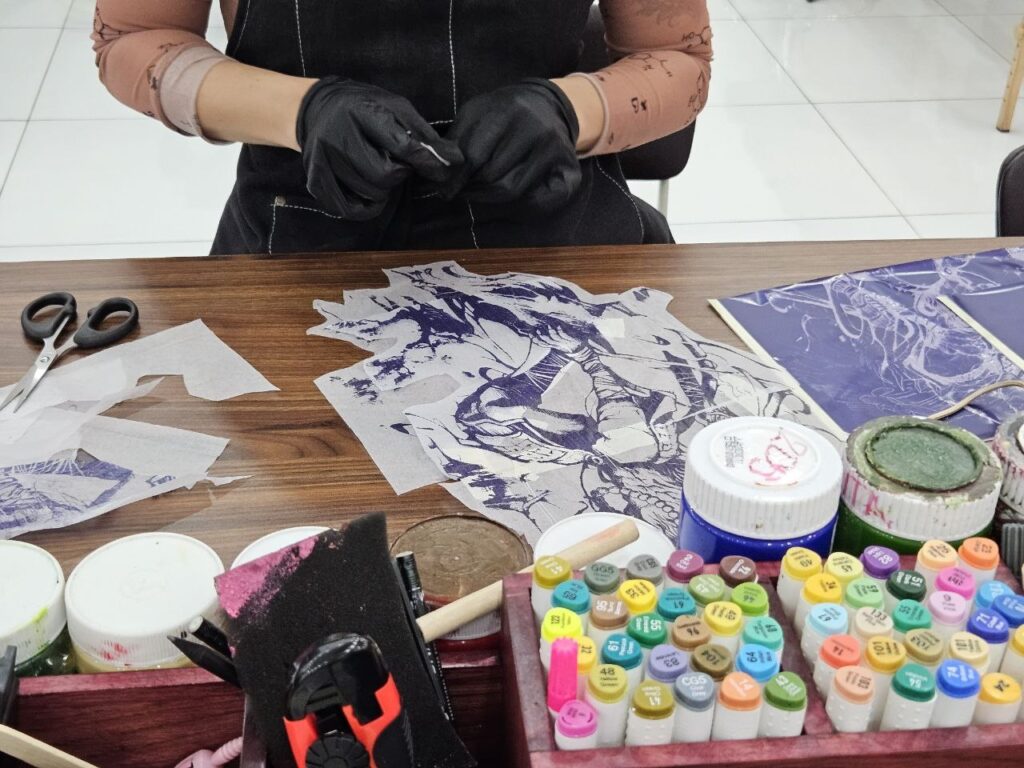
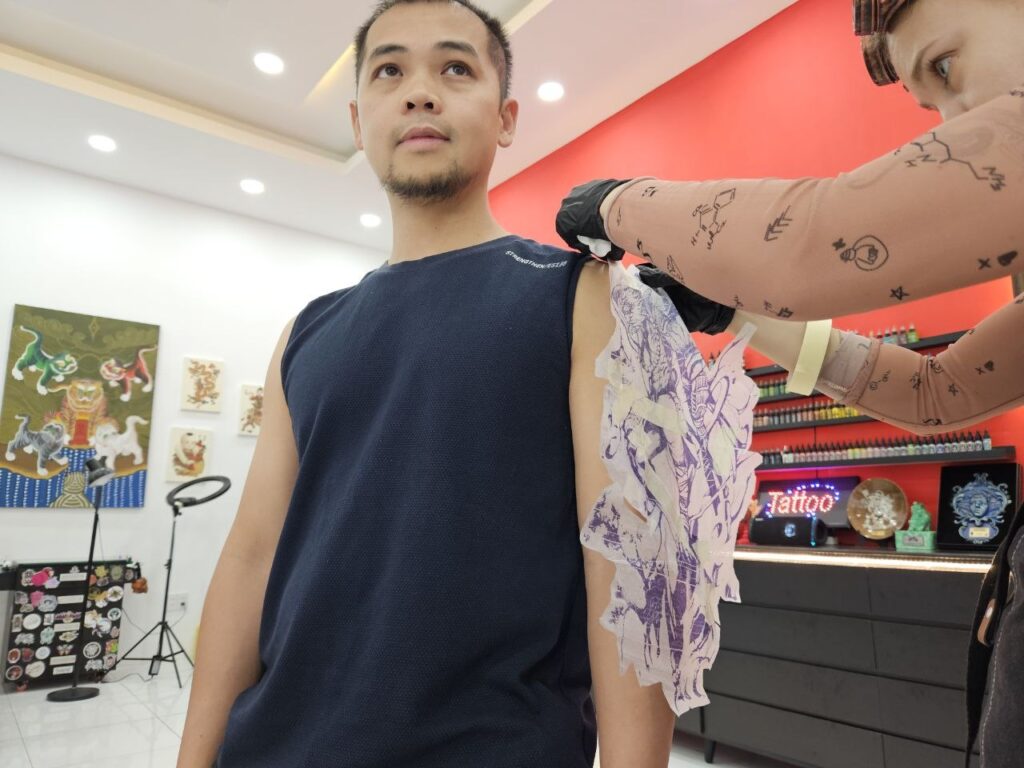
Until the first day, I’ve only seen the digital version of my tattoo, but I had no idea how it would actually get from the computer onto my skin and I could only imagine how it would wrap around my arm.
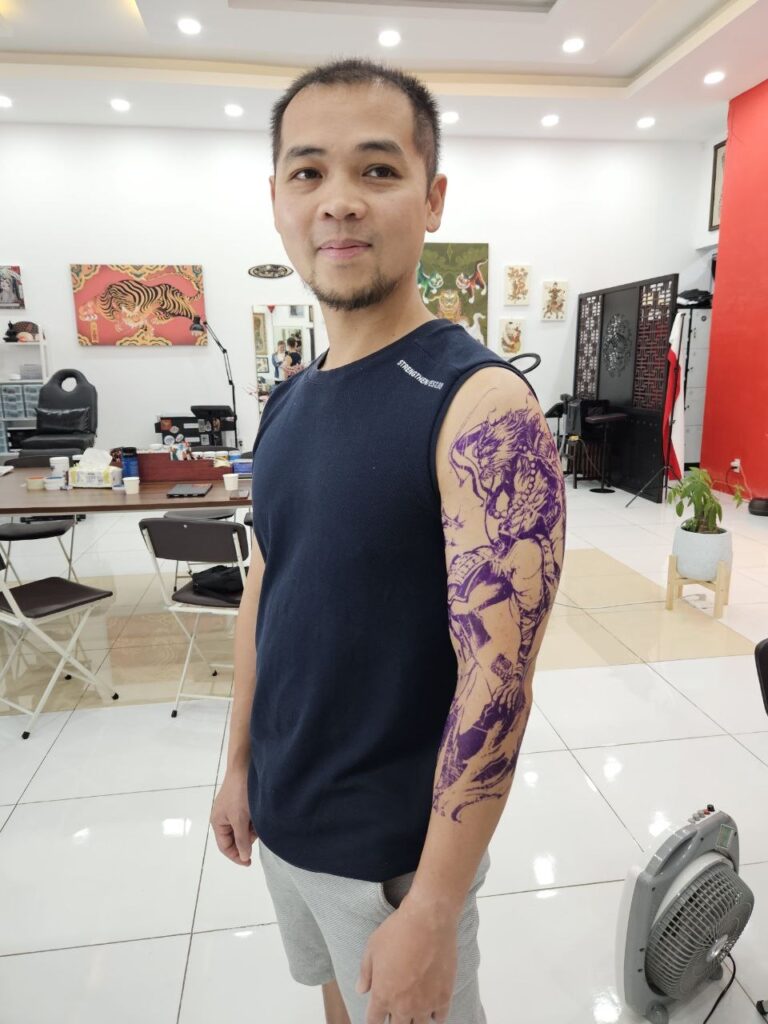
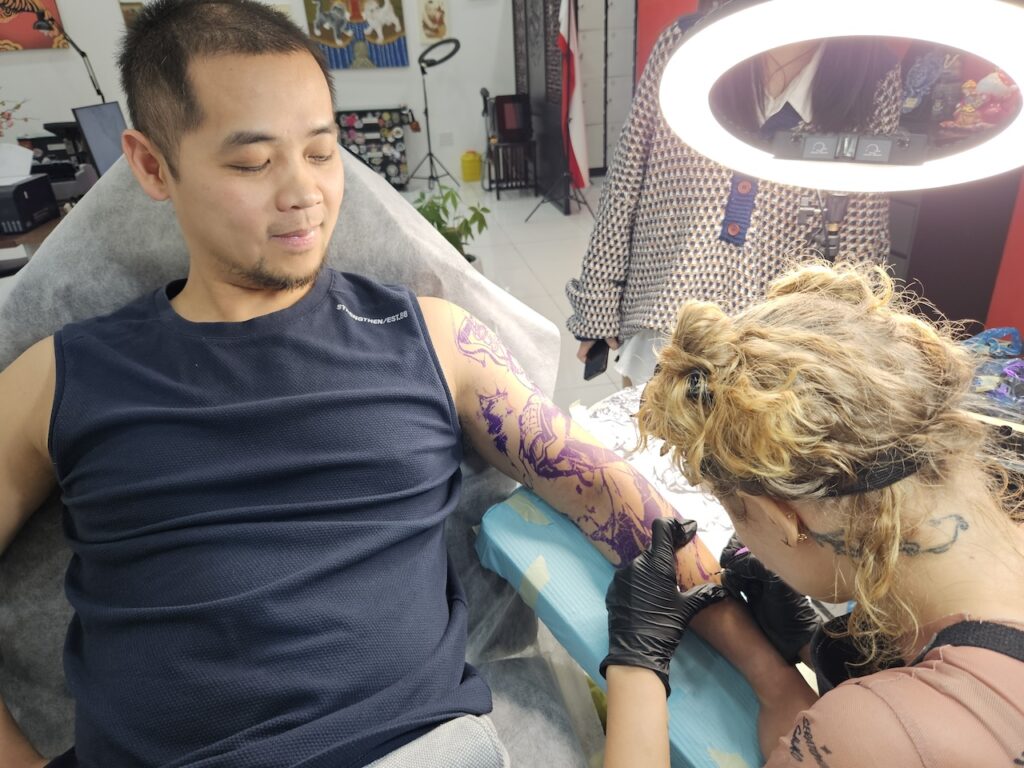
It was a really interesting process and it took around 1h after arrival until we actually started with the tattoo.
To get a tattoo on the skin, a Thermographic Transfer Paper is used. It’s like a temporary tattoo that the artist uses as a blue print to recreate the exact design on the skin.
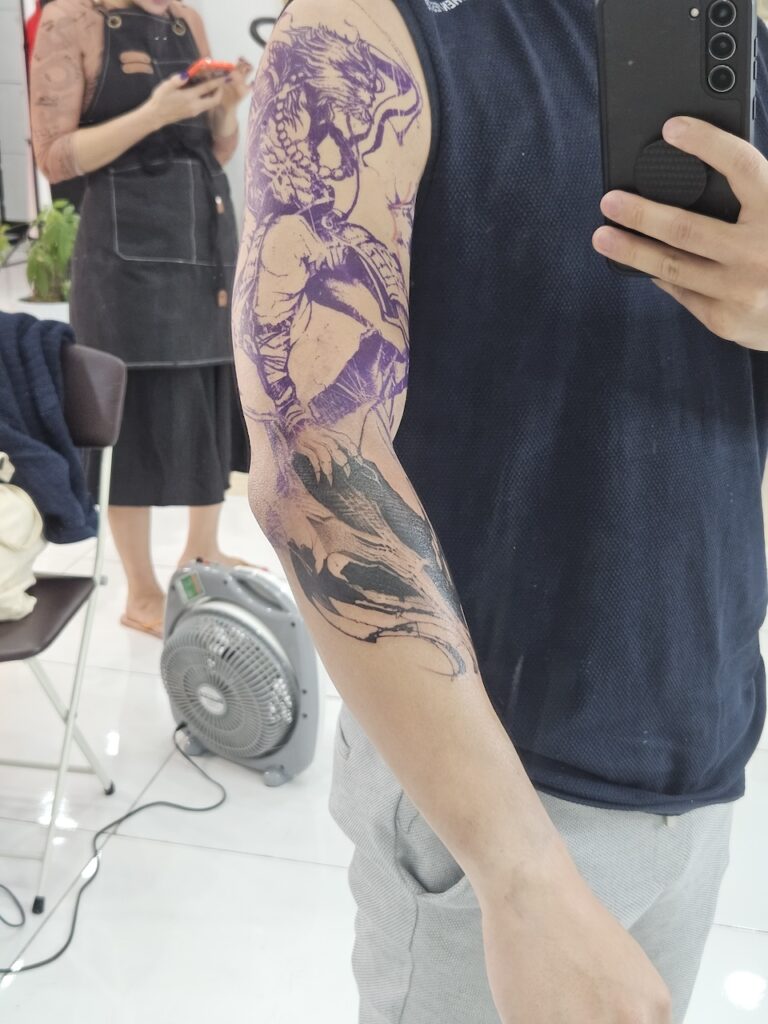
For the first day, we had an effective session of around 5.5h, not including breaks and the initial prep work. In total, I spend around 8h at the studio and thought it was a good start for the first day.
It also gave us a good sense of how long it will take in total. The initial plan was to get it done in 2 full days, but in the end 3-4 days will be more realistic for the entire design. At the end of the first day, we only got to the foot.
Day 2 – Continuing
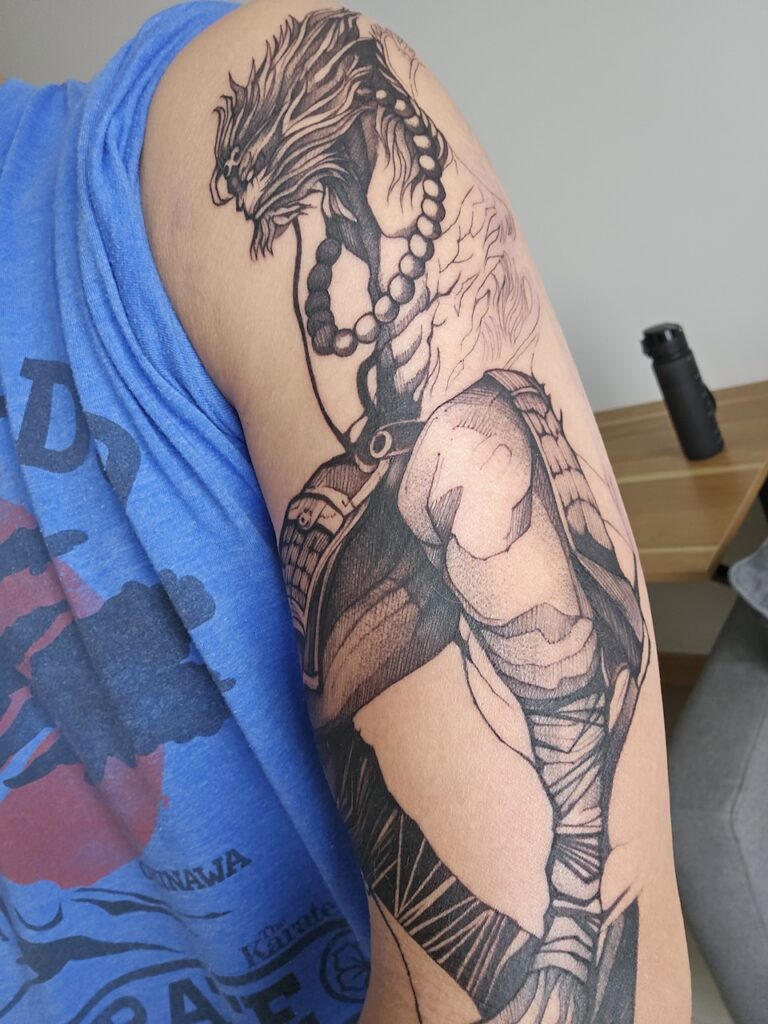
The progress on the second day was much more noticable. Although we had to do the transfer again, it didn’t take as much time because the size and positioning was already done on day 1.
In terms of pain, after the first day, my skin felt very irritated and sensitive.
On the first day, the initial stings weren’t as painful as I expected.
In fact, I thought I could do this all day long. But after a while, my skin became quite sensitive and the stings of the needle started to add up.
What was hurting even more was the constant cleaning of the area around the tattoo. The rubbing of the cleaning paper on the skin over and over again made my skin go nuts.
Imagine you take a credit card and rub the edges back and forth on your forearm until your skin turns red…and then you continue for 50 times more.
Here is the progress after day 2:
Day 3 – Taking A Break
After day 2, we decided to take a break to give my skin time to heal. It felt very sensitive and every touch would hurt. So I thought it was better to give it some time instead of pushing through the pain.
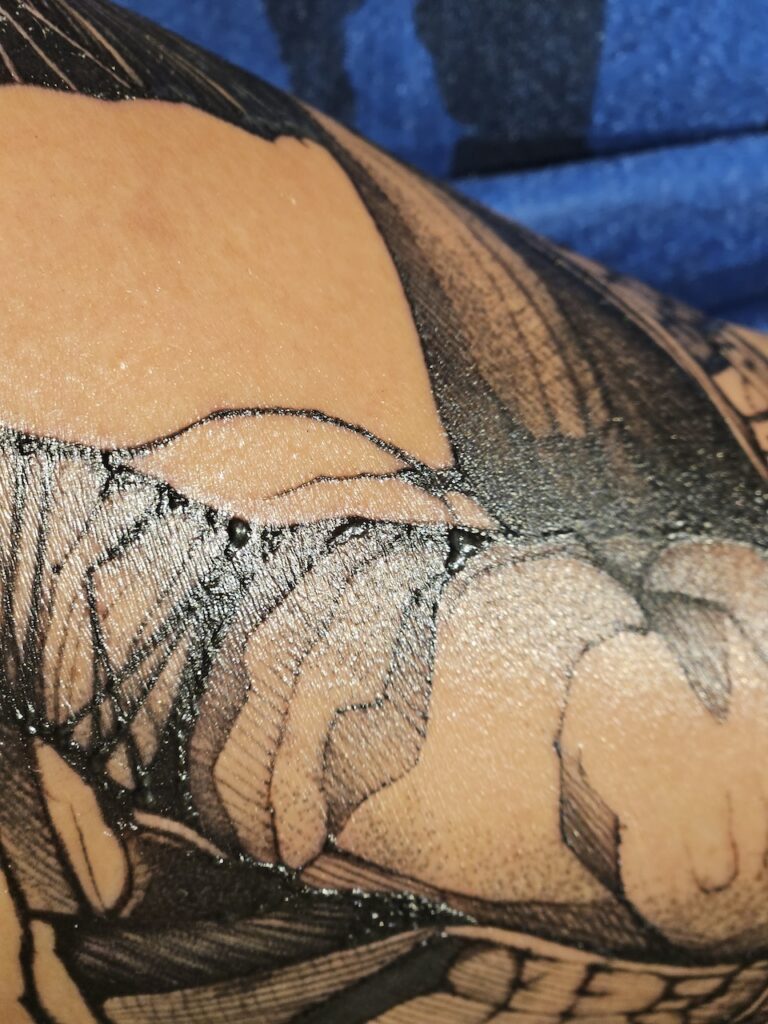
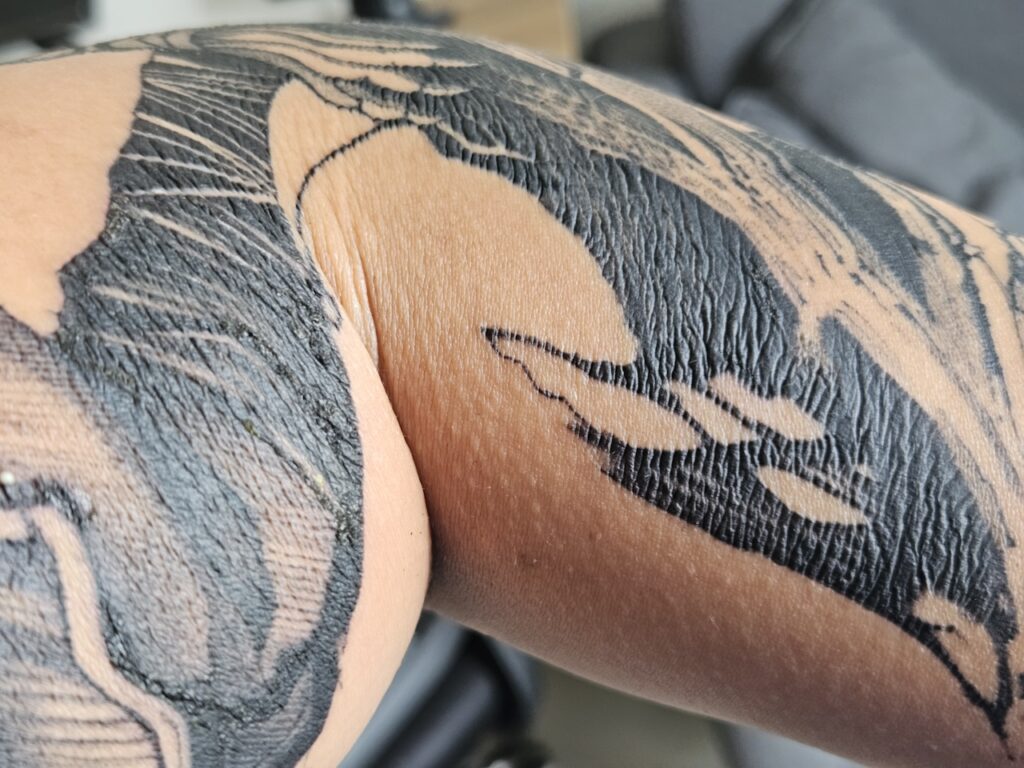
After my first sessions, it was interesting to see how the skin would react to the damage done. Excessive ink and plasma was building up and released.
Day 4 – Soreness Sets it
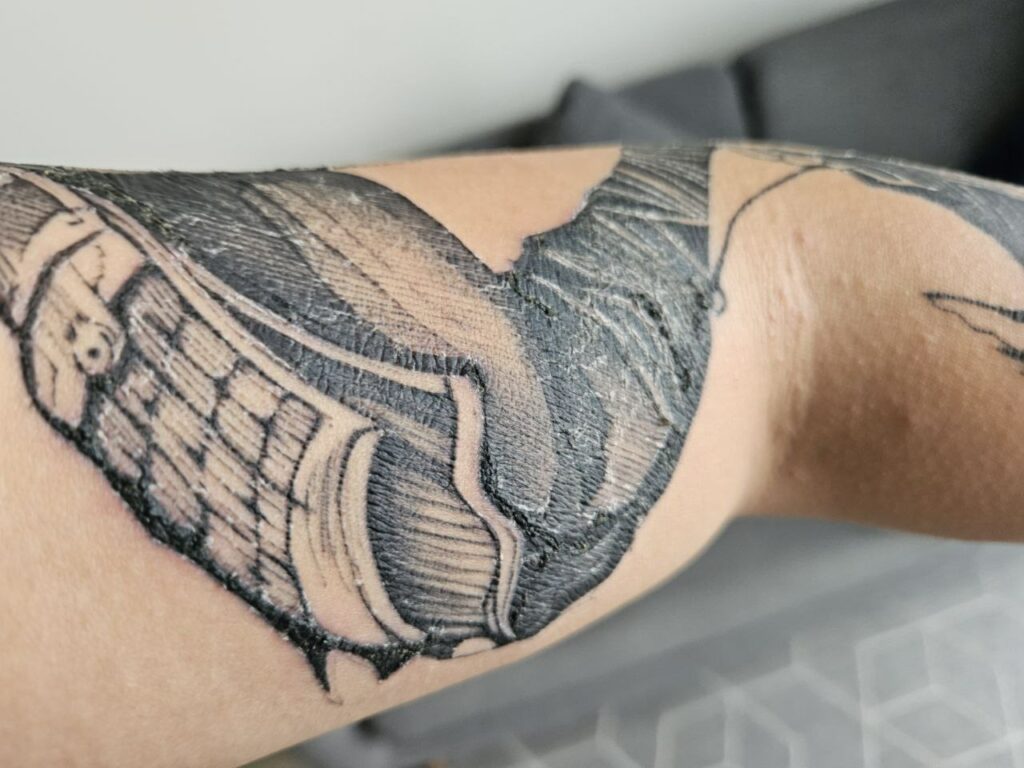
My arm began to hurt more and more. Sometimes it was hard to sleep at night. In addition to the sensitivity, my arm became more sore, heavy and it started to feel hot also. Over the next few days, the skin began to go through a rebuilding and shedding process.
First, it started to become more stiff when the first layers of skin felt dead and were ready to peal off. Over the next few days, new skin was beginning to build up and the top part started to shed. I felt like a snake.
Day 7 – It’s Getting Itchy
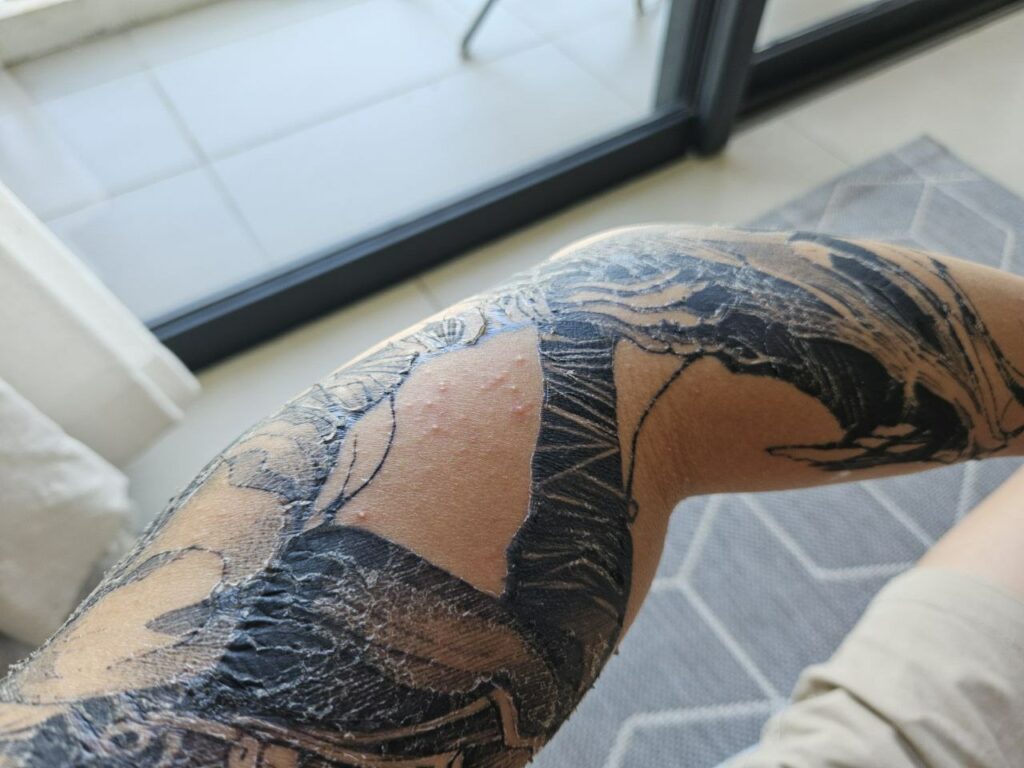
The pain got noticeably less after a week. However, due to the shedding process, my skin became super itchy. In addition, small skin irritations and pimples started to show up. All part of the process and nothing to worry about, however, it’s definitely something that doesn’t look great.
Day 8 – 12 – Shedding + Healing
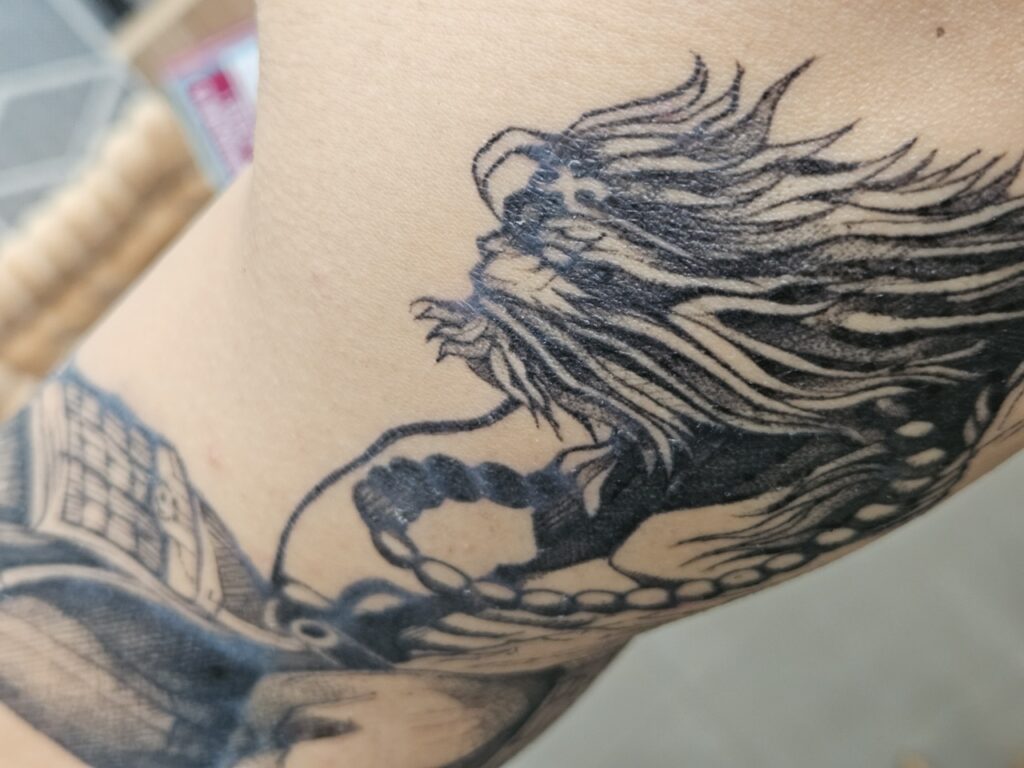
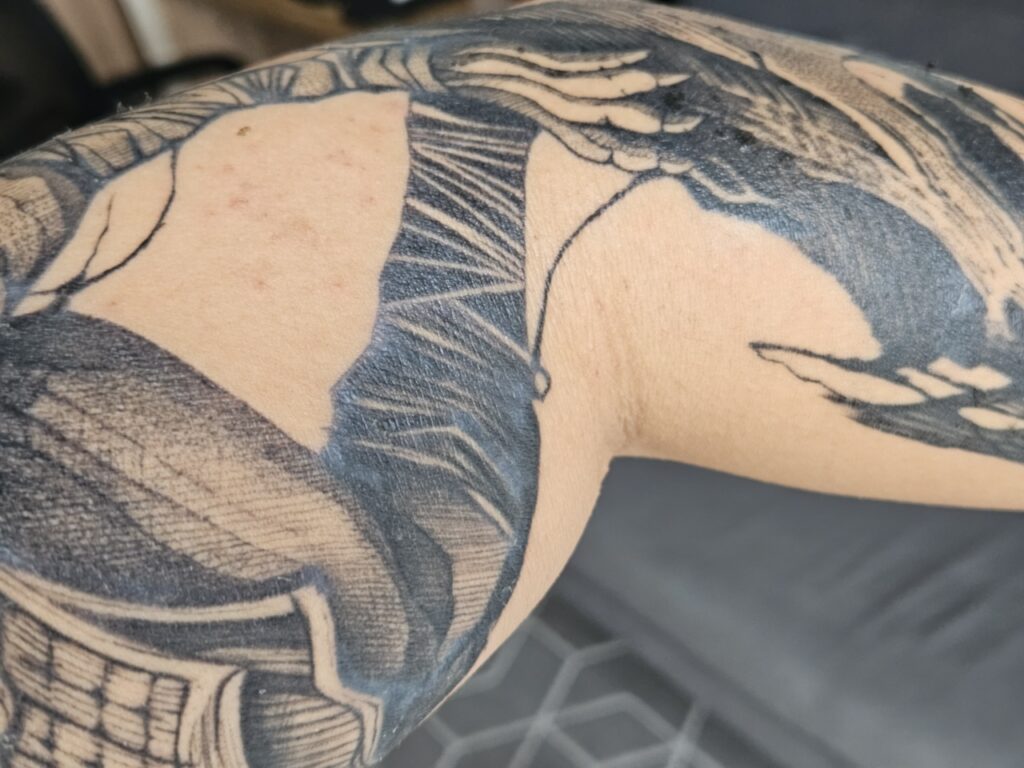
The pealing process is almost completely over with the itchiness remaining. The pain now is fully gone, but sometimes I still wake up in the middle of the night because my skin is itchy. There are still red irritations on my skin, but it feels like it’s getting less day by day.
The tattoo looks a bit faded and cloudy. However, this seems to be normal as the ink is getting settled and deeper layer of the skin is still healing. I’m glad I took a longer break. My next session is in about a week and my arm should be in a good condition by then to absorb the pain.
Day 22 – Completing the monkey
After 3 weeks of healing, it was finally time to continue. Meanwhile my skin has been making good healing progress and the current state looks really good. My skin was smooth and the itching was long gone.
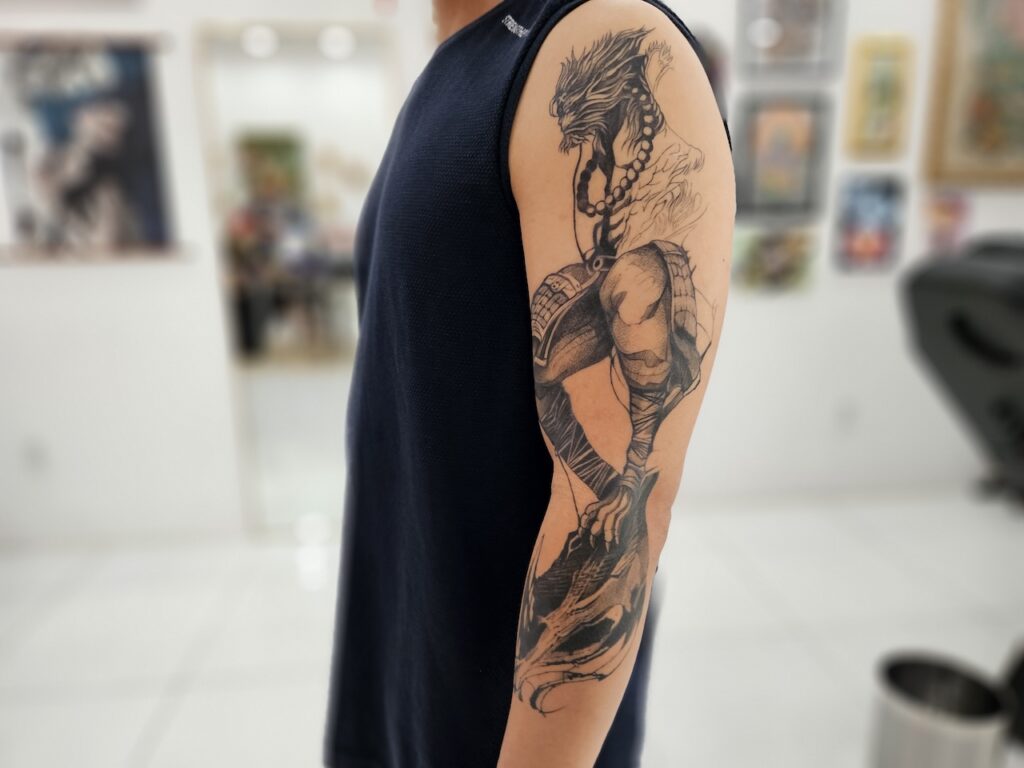
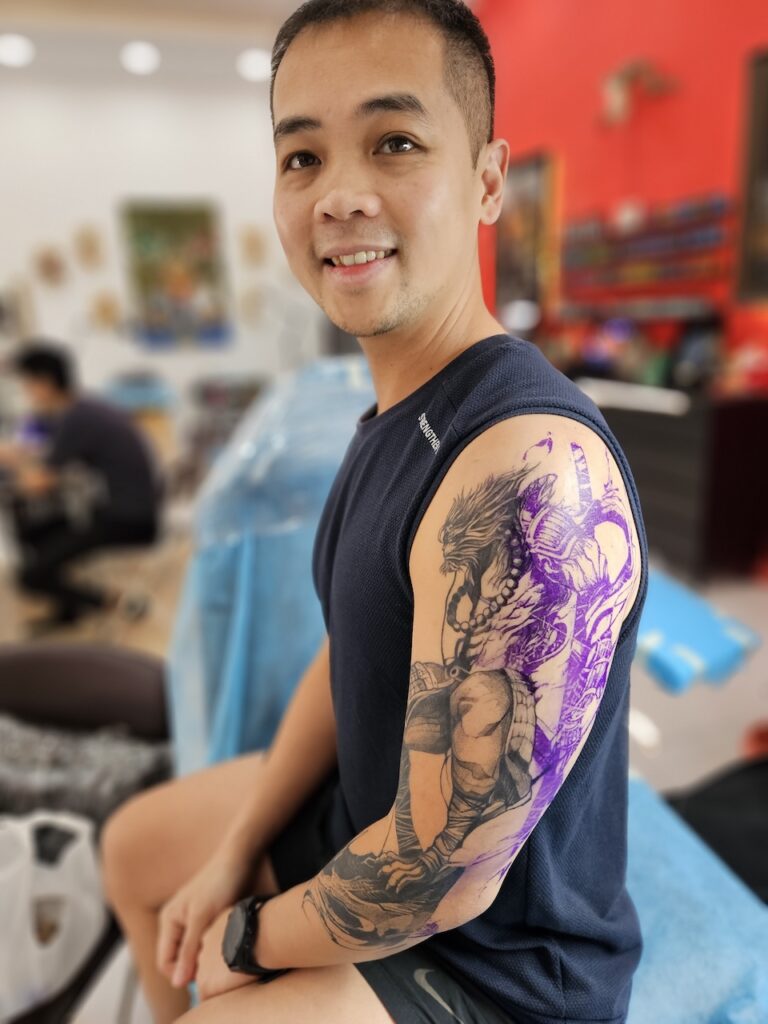
This was my third session. The daily goal was to complete the part in blue. We started around 11:00and finished up around 19:30. It was a loooong day. Here is the result:
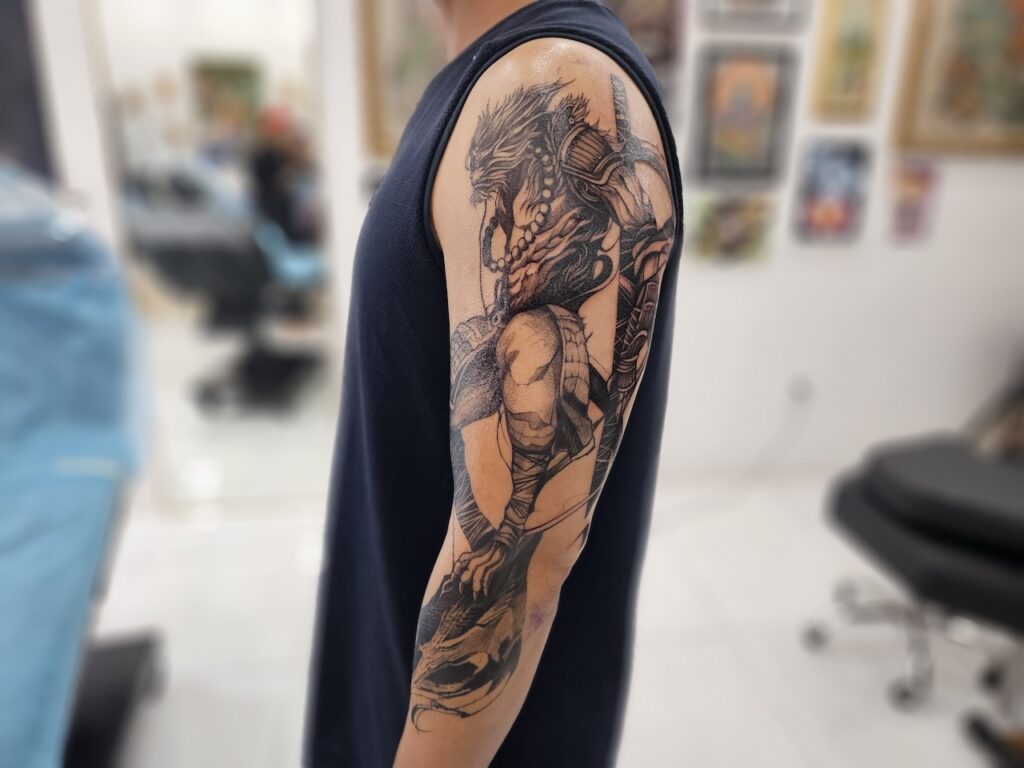
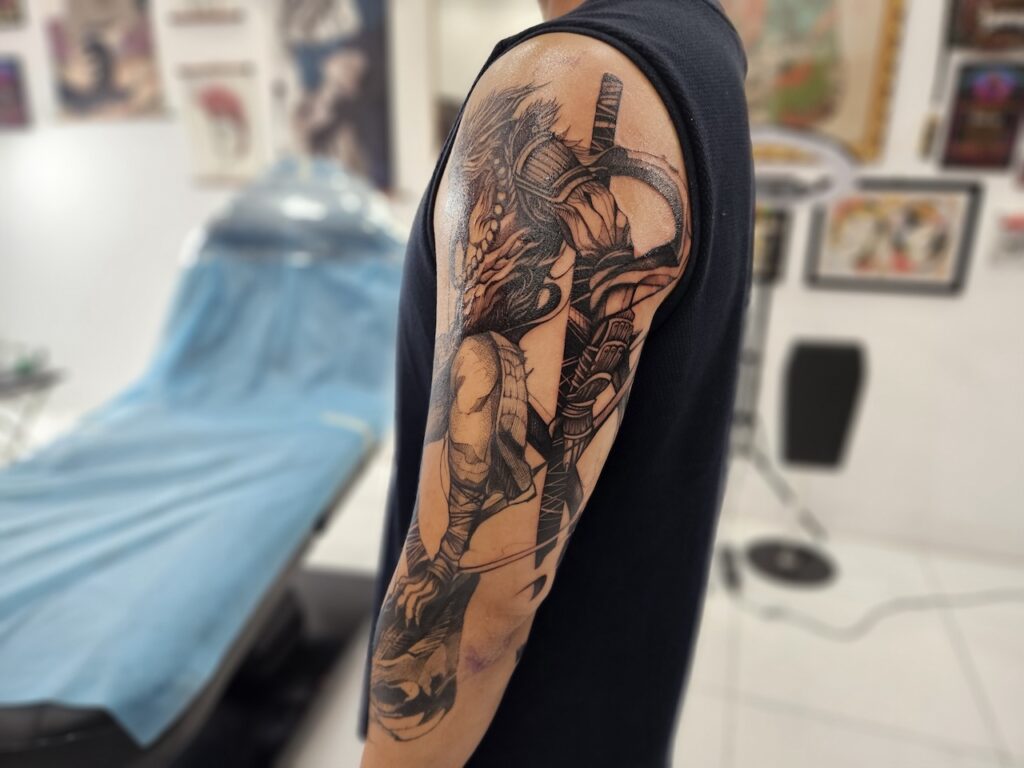
I’m super happy with the progress. My tattoo is now about 80% complete and it doesn’t take much more to finish. I’ll give it a week to rest and the continue.
Day 29 – Finalizing
This was my 4th and last session. After getting the entire monkey done, it was time to add the details around. I was super excited now, as everything was coming together as I envisioned. Here is a before and after comparison of my last session:
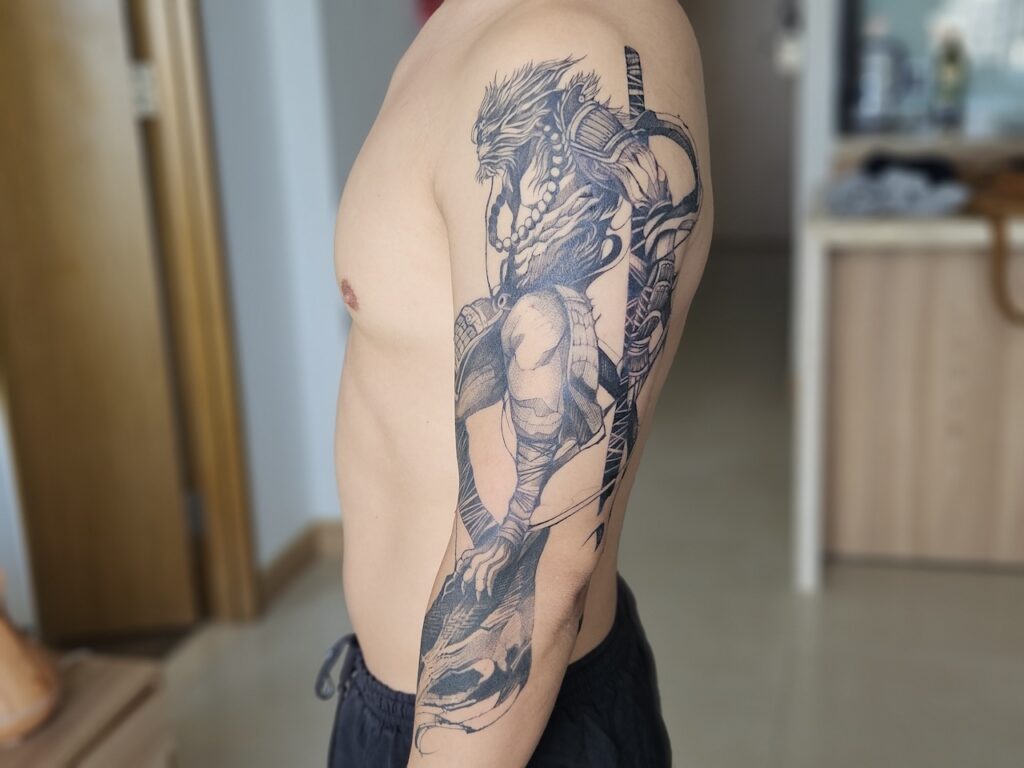
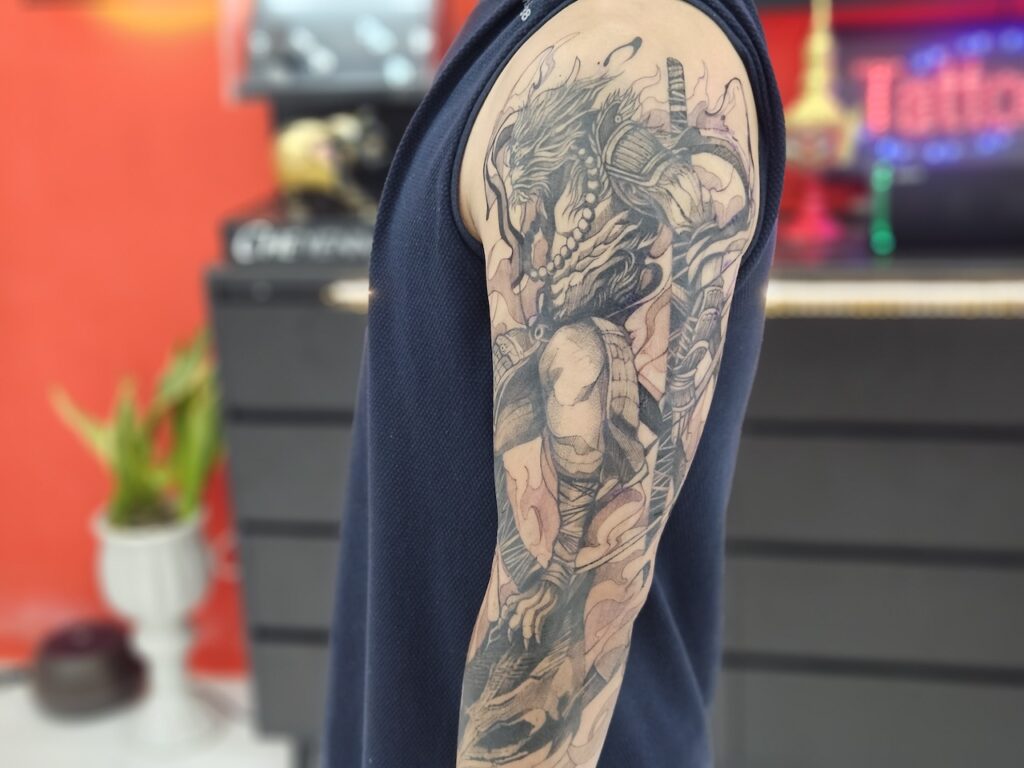
Currently, the newly added areas look much darker and seem to draw attention away from the actual monkey. However, in a few weeks after my skin has healed, the color will adjust and look more harmonious overall. I will post final images after completing the entire healing process.
Update After 10 months
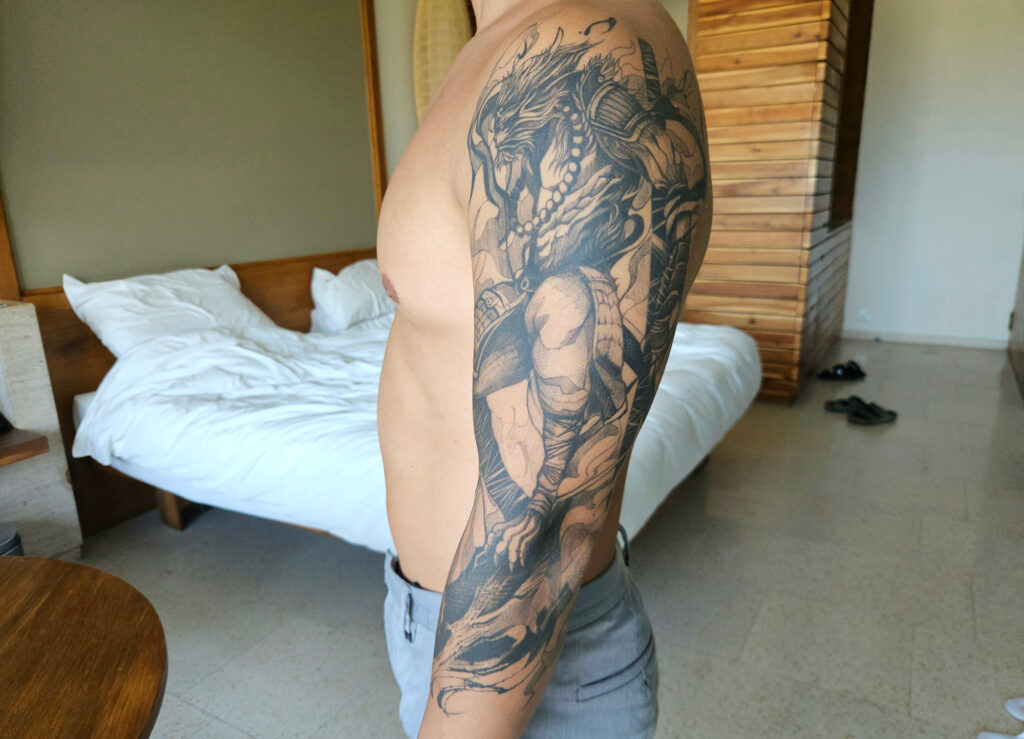
After many months now, I wanted to share an update and show you how the tattoo looks like. The ink has definitely settled and looks more consistent overall. Some details have faded a little but the art still looks crisp. I’m very happy overall, considering I’m living in Asia and it was very sunny and hot during the summer months. I did my best to protect the tattoo, by minimizing sun exposure and applying SPF50+ sunscreen 90% of the time I’m out.
